Interior & Exterior Finishes
Finishes and Wall Preparation
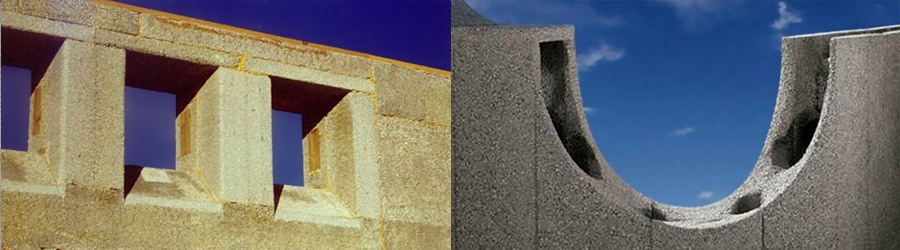
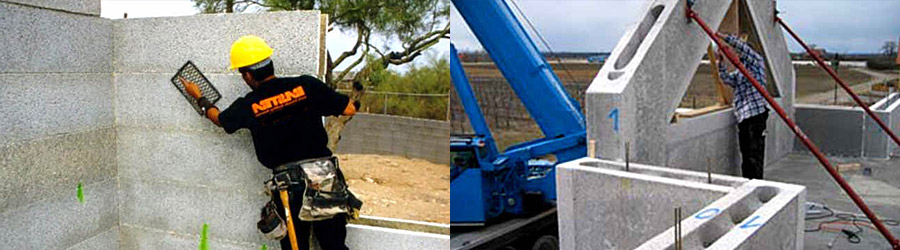
Once the grout has setup, braces and supports can be removed. To correct any offset of panels which may have occurred during installation, some rasping may be required, or a very thin layer of plaster may be used instead of rasping. In essence, the amount of rasping required depends largely on personal visual approval and the final finish to be used.
Interior Finishes
RASTRA panels can be finished in a variety of ways including plaster, drywall, paneling, or tile. Gypsum plaster, tile or stone are applied directly to the wall with no need for lath, fiber mesh or backerboard.
Drywall
Drywall can be directly applied to the wall without furring strips. The preferred method is to use patches of gypsum adhesive to attach sheetrock to the wall. Alternatively, special screws are available. RASTRA panels may also be painted using an acrylic or similar paint in less finished (basement) applications to control dust.

To attach drywall to the panel, follow these steps:
- Spread drywall mud or ICF foam on the back side of a sheet of drywall.
- Press the sheet of drywall onto the RASTRA wall.
- Hit the drywall gently with a rubber mallet to distribute the mud.
- When all drywall sheets are in place finish over
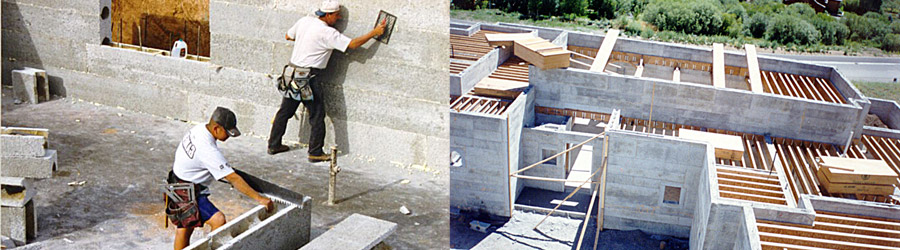
Plaster
Apply plaster directly to the surface of the RASTRA panels in accordance with the manufacturer's installation instructions. The only preparation necessary is to rasp any problem areas and blow off loose "crumbs".
Brick or Stone Veneer

Veneer, brick or stone can be attached directly to RASTRA panels. Bricks and natural or cultured stone veneers can be attached to Rastra in several ways. You can create a brick ledger and rest the veneer on it or you can attach the stones similar to tiles with mortar or other tile adhesives. To securely attach stone to the wall ties can be used (as they are used for hanging duct work). Wall ties can either be grouted in place or nailed to the concrete. Care should be taken to ensure that water cannot enter from the top and be trapped behind these surfaces. If an air-gap is created between the RASTRA wall and the veneer waterproofing and/or weep holes are required.
For tiles follow the steps below:
- Apply a scratch coat of mortar 1/4" to 1/2" thick.
- Use a small piece of lath to lightly rake horizontal grooves into the scratch coat.
- Allow the scratch coat to cure for a minimum of 24 hours.
- Continue by applying mortar and attaching the tiles, using normal methods.
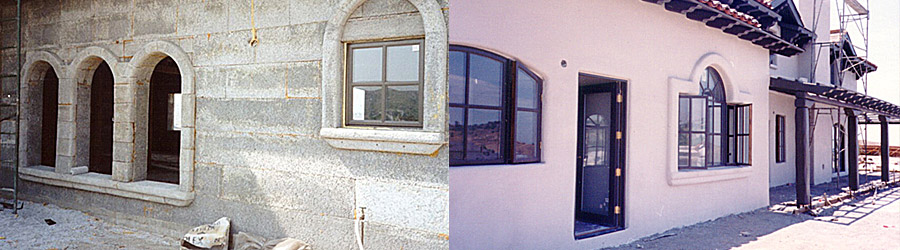
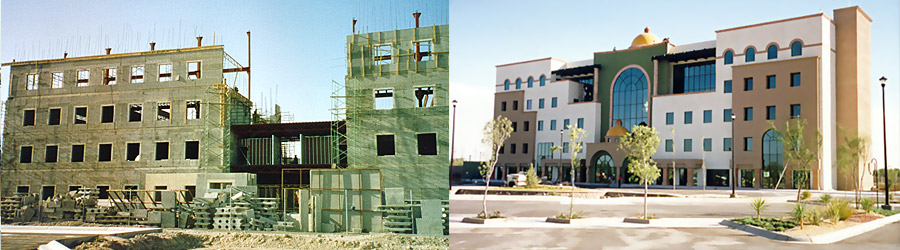
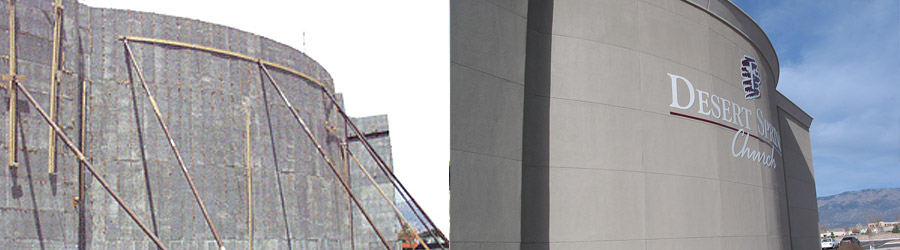
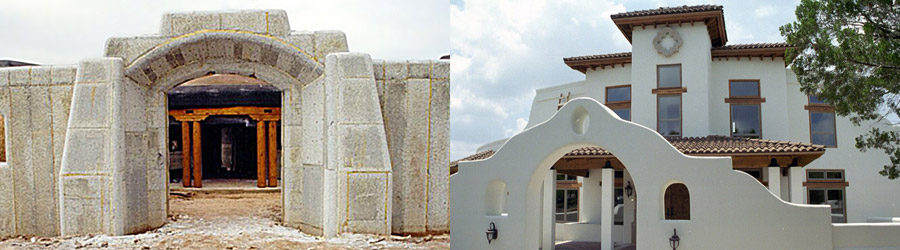
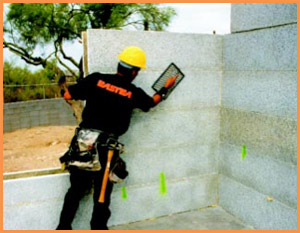
Stucco Exterior
The composition of RASTRA is slightly flexible and reduces the expansion and contraction of the walls, thus eliminating much of the stucco cracking generally caused by the expansion and contraction and tension between stucco and underlying substrate material.
Other than possible rasping and blowing off dust, crumbs, and loose bits, nothing else needs to be done to the wall to prepare it for the finish coat. Stucco can be applied directly to the RASTRA panels.

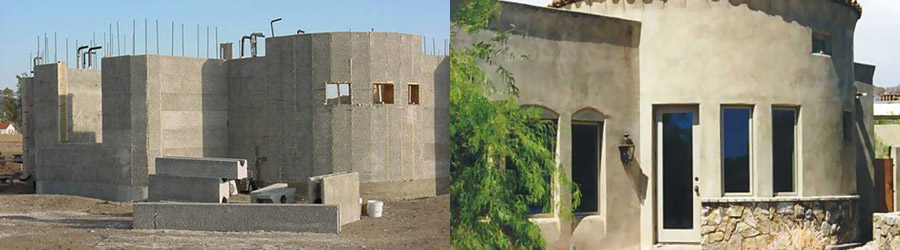
Above Grade
Although, Rastra does not wick water, rather drains it and can be left without finish for extended time, it is not water tight. Once stucco is applied care has to be taken that water does not seep into the wall where it could get trapped and accumulates until it has to find a way out. Stucco systems shall be recognized by codes and applied in accordance to the manufacturer's specification and code official's satisfaction. Recommended are Portland cement stucco systems with content of fibrous material, such as Ultrakote Products, Kwik Kote Corp., Sacramento Stucco Western 1- Kote, or the like. If a top coat is to be applied preferably elastomeric (PU or acrylic based) products are being used.
Begin the process by removing loose debris, dust and any protrusions from the wall surface. Dampen the surface before applying any mortar - this helps prevent the wall from pulling moisture out of the stucco too quickly, which could cause cracking and loss of bond. Coatings can be applied in one, two or three layers.
If applying a two coat system, the base coat is the leveling coat with the second serving as the finish coat. In this case the base coat is approximately 1/4" or as required to create a level coat. The final coat is 1/8" or as needed for a uniform finish.
If using a three coat system. The first layer is normally 1/8" to 3/8" thick and is referred to as a "scratch" layer because once applied, the surface is 'scratched' to provide a more receptive surface for the second layer. The second layer is usually applied 1/8" to 3/8" thick. This coat is sometimes referred to as a "floating" or "brown" coat. The third or final layer is typically 1/8" or less thick and often colored and/or textured.
Allow the first layer to harden for 24 to 36 hours. Do not let this layer dry out, if necessary, keep it damp by misting it with water, do not spray it with a pressure hose as it will dislodge the mortar.
After the stucco installation is complete, keep the stucco damp over several days; lightly mist the surface occasionally if necessary. Allow mortar to dry for at least six weeks before applying cement paint or color wash
Complete the job by sealing around doors and window frames - these areas are especially susceptible to water penetration. This step is extremely important, intrusion of water into the Rastra wall has to be avoided. Particularly check all horizontal areas, like parapets and window sills. If needed seal these areas with a clear masonry sealer like Loxon primer, a Sherwin Williams product, or Seal Crete sealer. Carefully follow application instructions of any sealant product you choose. Caulking gaps around windows, doors, or headers etc. shall be of adequate size in order to have sufficient caulking material to bridge any difference in expansion of the stucco and other materials. In critical cases it might be worth to consider a damp proof layer between slab and the Rastra wall to block moisture rising from the foundation. Also you may consider providing some possibility of moisture drainage. This can be done by installing the Rastra wall protruding for approximately ½" over the slab. Water getting caught in a Rastra wall (or as in any wall; wood or masonry) which is sealed with stucco with no way to go may lead to wet spots, discoloration and damage. .
Below Grade
RASTRA walls installed to be below grade must be treated with a layer of protective sup grade waterproofing in accordance with Section 1806 of IBC. Any type of code approved system can be used (solvent containing products are no problem as only few EPS particles on the surface of the Rastra wall will be affected). Roll on, spry on, or membranes. Protect the sealant before backfilling from being penetrated by rocks; this can be done by covering the sub-grade portion of the wall with a thin (1/2") EPS sheet.
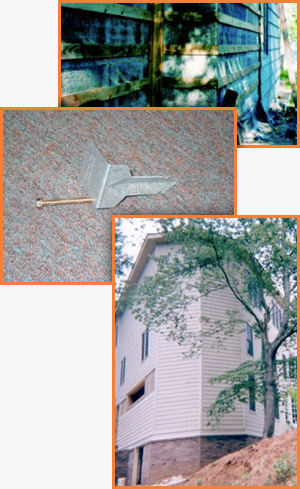
Siding
If exterior walls to be covered with siding, one method is to first attach nailers to the wall surface in a manner similar to masonry or concrete walls. The siding can then be nailed or screwed to the nailers.
Nailers are attached to the RASTRA panels with a combination of foam adhesive and concrete screws or nails. Nailers should be installed with nails or screws long enough to provide an adequate connection to the grout core. Nailers can also be fastened with self drilling screws to galvanized sheet metal inserts which are put into the RASRA wall before grouting to be anchored.
Note: Each different sized panel has a different wall thickness from the face of the panel to the concrete core. Make certain fastening hardware is long enough to reach and penetrate the concrete core. Flange thicknesses are as follows:
- 8.5" panel = 1.75"
- 10" panel = 2"
- 12" panel = 3"
- 14" panel = 4"
Parapets
In a typical parapet design, the flashing should extend up from the roof to a height sufficient to ensure that exposure to beating rain or melting snow will not result in the entrance of water. The surface of RASTRA walls can be finished with standard waterproofing material. As a guideline, if the waterproofing method/material is used on either masonry or concrete walls, it will work on RASTRA, including application of bituminous or asphalt-based materials. The top of the wall should be finished in a manner similar to a masonry or concrete parapet wall with a stucco finish, tile or other finish in customary use, which guarantees a good water seal.